環(huán)境: sphinx 0.9.8 rc2 + libmmseg 0.7.3 + thinking_sphinx 1.2.8 + ubuntu 8.1.0 Desktop version
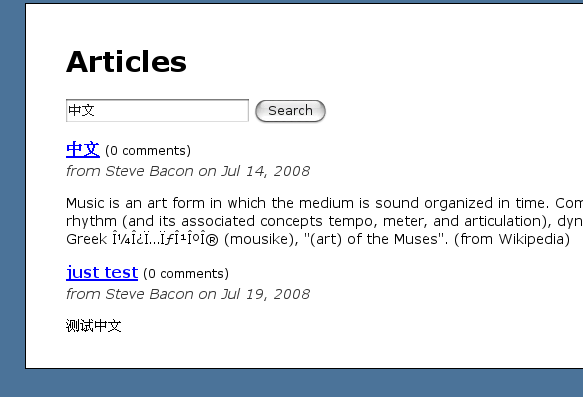
效果預(yù)覽:
1, http://www.zikii.com/ 這個(gè)網(wǎng)站 也是基于 sphinx 實(shí)現(xiàn)的
2,我的
由于項(xiàng)目需要,需要實(shí)現(xiàn)站內(nèi)搜索,全文檢索和 中文分詞 功能,最后選型了 sphinx + libmmseg + thinking_sphinx , 折騰了好大一會(huì),最后測(cè)試成功
sphinx 是俄國(guó)人開(kāi)發(fā)的opensourse 搜索引擎,索引速度很快, libmmseg 是中國(guó)人開(kāi)發(fā)的中文分詞程序,thinking_sphinx 是封裝調(diào)用sphinx的rails plugin
下面用到的所有資源 打包下載:
http://www.uushare.com/user/fl1429/file/2043579
1,項(xiàng)目的所有的源碼編譯安裝 , 全部移到 /root 下進(jìn)行,凡是出現(xiàn)權(quán)限不夠的, 在命令前加上 sudo
2,安裝 libmmseg
./configure
make
make install
具體可以參考:
http://www.coreseek.cn/opensource/mmseg/
3,安裝 ruby 擴(kuò)展,進(jìn)入 mmseg ruby 目錄下 (注意最后面有一個(gè)點(diǎn))
cd ruby
cp /usr/local/include/mmseg/*.h .
cp ../src/*.h .


cp ../src/css/*.h .

ruby extconf.lin.rb

make

sudo make install

成功的話,可以到irb下,測(cè)試看看是否成功了

irb

require 'mmseg'

注意:如果在這一步出錯(cuò),且出錯(cuò)提示為:


css/UnigramCorpusReader.cpp:89: error: ’strncmp’ was not declared in this scope


則需手工編輯.src/css目錄下UnigramCorpusReader.cpp 文件,在其第一行加上


#include <string.h>


然后重新 make,即可通過(guò)


4,創(chuàng)建辭典文件


進(jìn)入 mmseg 的 data 目錄下


mmseg -u unigram.txt


把生成的文件名改為 uni.lib


5,安裝sphinx (把兩個(gè)補(bǔ)丁放入 解壓后 的 sphinx下)


cd sphinx-0.9.8-rc2


patch -p1 < sphinx-0.98rc2.zhcn-support.patch  #patch中文補(bǔ)丁


patch -p1 < fix-crash-in-excerpts.patch # patch 防crash 補(bǔ)丁


Copy mmseg安裝文件夾下 src/csr_typedefs.h 和


src/css/SegmenterManager.h 到Sphinx安裝文件夾下的 src


文件夾下


./configure


make

sudo make install


注意:如果在這一步出現(xiàn)


/usr/local/include/mmseg/freelist.h:22: error: ‘strlen’ was not declared in this scope


的錯(cuò)誤,手工修改 /usr/local/mmseg/include/mmseg/freelist.h


在上面添加

#include <string.h>


以上的配置 sphinx 就支持 中文分詞 搜索了。。。


Demo:


1,依照 Ryan 的例子 配置 好基本的英文搜索


http://railscasts.com/episodes/120-thinking-sphinx


2,重點(diǎn)是 model 里的 定義索引


define_index do


indexes content

indexes :name, :sortable => true

indexes comments.content, :as => :comment_content

indexes [author.first_name, author.last_name], :as => :author_name

has author_id, created_at

end


3,把上面生成的 uni.lib 辭典文件 拷入 項(xiàng)目的 lib 下 (或者別的地方,看你配置里的charset_dictpath的,不編譯的話,可以用別人現(xiàn)成的uni.lib)


4,在項(xiàng)目的 config 下新建一個(gè) sphinx.yml 文件

development: &my_settings

enable_star: 1

min_prefix_len: 0

min_infix_len: 2

min_word_len: 1

max_results: 70000

morphology: none

listen: localhost:3312

charset_dictpath: /home/feng/RailsProject/Search/lib

test:

<<: *my_settings

production:

<<: *my_settings


上面的

/home/feng/RailsProject/Search/lib 可以寫成  "#{RAILS_ROOT}/lib"

5,生成配置文件


rake ts:config


 這樣config 下會(huì)生成一個(gè) development.sphinx.conf 文件


找到 charset_type = utf-8 把后面 utf-8 修改為 zh_cn.utf-8,并在下面添加如下語(yǔ)句


charset_dictpath = /home/feng/RailsProject/Search/lib (你工程的lib路徑)


6,建立索引


rake ts:index INDEX_ONLY=true

注意后面必須添加  INDEX_ONLY=true不然的話,配置文件會(huì)被重置,還有不要寫成 INDEX_ONLY = true


7,啟動(dòng)sphinx服務(wù)


rake ts:start

8,啟動(dòng)webrick


注意,sphinx 必須在webrick的前面 先啟動(dòng)

我的demo項(xiàng)目,其實(shí)就是上面ryan 的,下載后可以看到我的具體配置,或者詳細(xì)的內(nèi)容


http://www.uushare.com/user/fl1429/file/2043752


ref:

http://wiki.github.com/cogentsoft/zbs/180787

http://www.javaeye.com/topic/431217?page=1

http://www.javaeye.com/topic/196451

http://blog.sina.com.cn/s/blog_412d58ec010090pq.html

http://freelancing-god.github.com/ts/en/rake_tasks.html
posted on 2009-09-22 17:15
fl1429 閱讀(1739)
評(píng)論(0) 編輯 收藏 所屬分類:
Rails