A
stock Eclipse installation has integrated support for CVS, a popular
open source change-management system. The abilities of CVS, and its
limitations, are well known, but many groups have been investigating
other version-control systems to provide better scaling, better
support for merging changes and branching versions, and better
support for binary file formats.
Subversion
(SVN) is a popular replacement for CVS, offering improved performance
(courtesy of intelligent local caching and a database back end), easy
and fast branching, and an answer to every one of the shortcomings
that people often run into while using CVS.
Read
on to see how to add Subversion support to Eclipse and how to perform
basic version-control activities from the IDE.
Before
you start
You're
going to need to download and install Eclipse
to follow along.
You'll
also need access to a Subversion repository. For demonstration
purposes, I'll show you how to check out the Subclipse project and
work with projects in a repository on my LAN.
Adding Subclipse to
Eclipse
Subclipse
is a project to add Subversion support to the Eclipse IDE. The
software is released under the Eclipse
Public License (EPL) 1.0 open source license. Read Download
and Install to see how to add subclipse to Eclipse.
Tips:In
addition, if you are on Linux, your distribution might only support a
specific version of Subversion and JavaHL. So you might want to
stick with a specific version of Subclipse for that client. More
information on how to get JavaHL, and the right version for each
version of Subclipse can be found in the
wiki .
A quick test
It's
always nice to test a new feature once you've finished the
installation; we'll try checking out a copy of Subclipse from a
Subversion repository to make sure it's been properly installed.
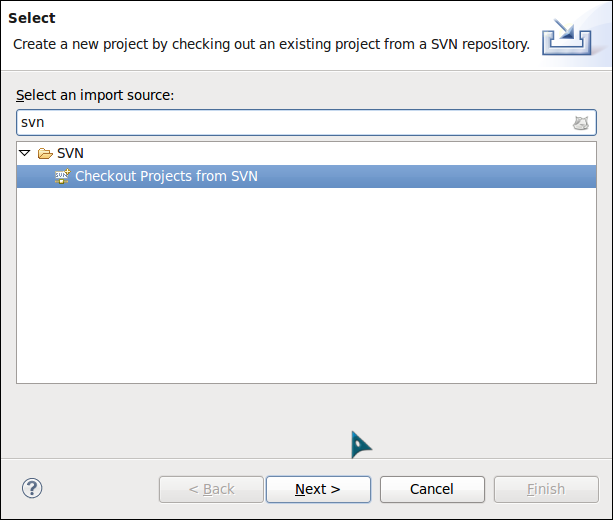
From
Eclipse's File menu, choose Import to display the import
manager (see Figure 1). Choose Checkout Projects from SVN,
then click Next.
Figure 1. The import
manager
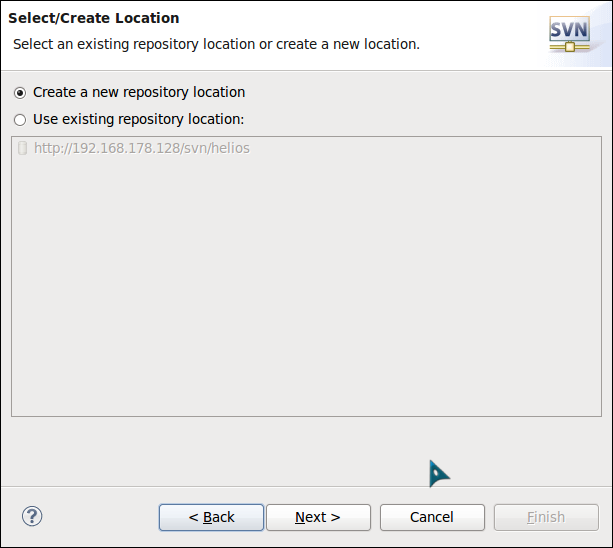
On
the Select/Create Location panel (see Figure 2), we need to create a
new location (since we don't have any configured yet), so click Next
to continue. If the Next button is disabled, switch to the Use
existing repository location option, then back to Create a new
repository location to enable the Next button.
Figure 2.
Creating a new repository location
In
the next section (see Figure 3), add the repository URL
(http://192.168.178.128/svn/helios/)
to the Url field, then click Next.
After a moment, Eclipse prompts you for user ID and password. If you
don't have an account, enter guest
for the user ID and a space for the password, check the Save Password
box, and click OK.
Figure 3. Add the
repository URL

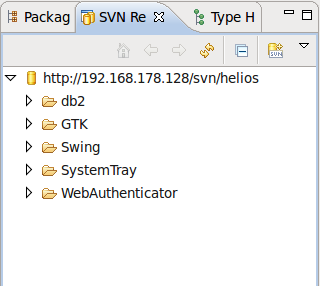
Eclipse displays the
folders in the Subclipse repository (see Figure 4).
Figure 4. Subclipse
repository
Basic Subversion
operations
At
this point, we've installed Subclipse successfully, which added
support for Subversion servers to our Eclipse setup, and we've tested
Subclipse by downloading the current Subclipse source code from the
repository. Now we should look at doing something with our own code
and our own Subversion repository.
Adding a project to
the repository
To
add a new project to your Subversion repository, right-click the
project (in any of Eclipse's project views or the Navigator view) and
choose Team > Share Project from the menu. Eclipse displays
the Share Project dialog.
Figure 5. The
Share Project dialog
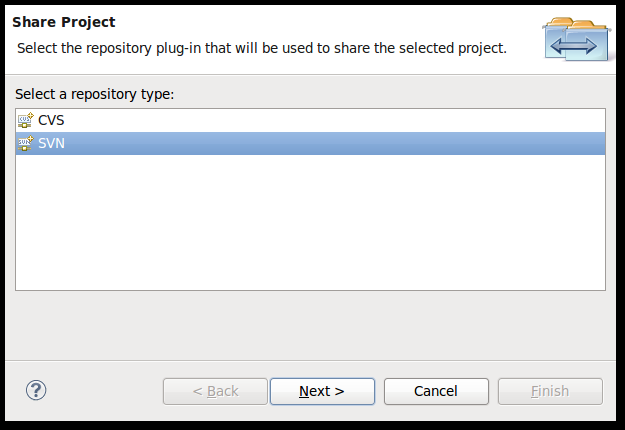
Select SVN from the
list of repositories currently supported by your Eclipse, then click
Next. The next dialog (see Figure 6) lets you choose an existing
repository location, or you can create a new one.
Figure 6.
Selecting a repository location
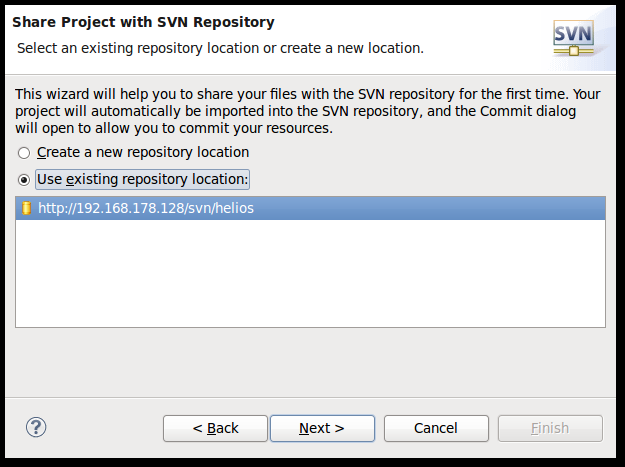
If
your repository is already listed (as you can see, I've added mine),
select it, and then click Next. If your repository isn't listed, add
it (see A quick test for instructions) and continue. The next dialog
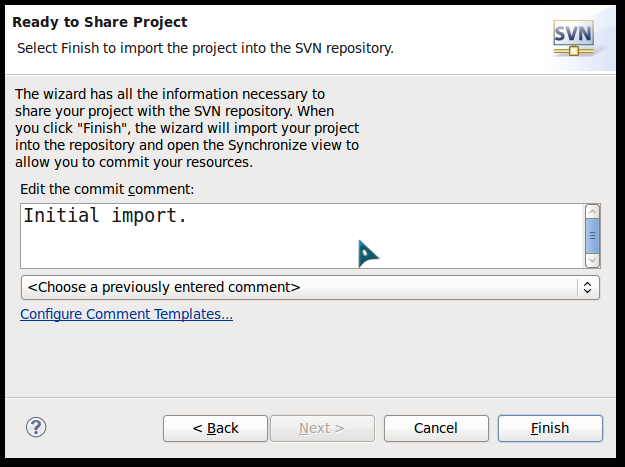
(see Figure 7) lets you enter folder name in the SVN repository. Then
click Next
Figure 7. Adding a
project's contents
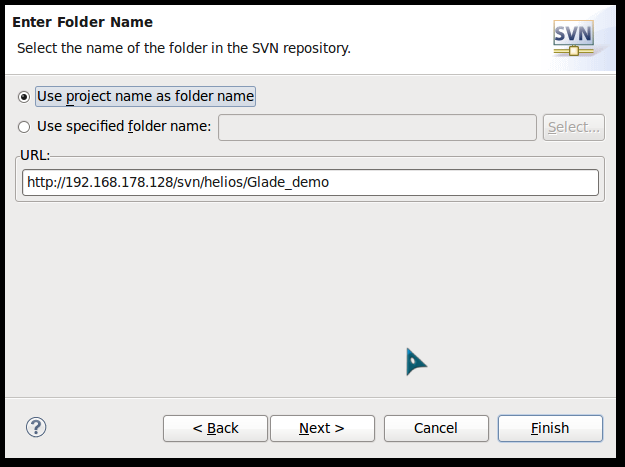
Figure
8. Adding a project's contents